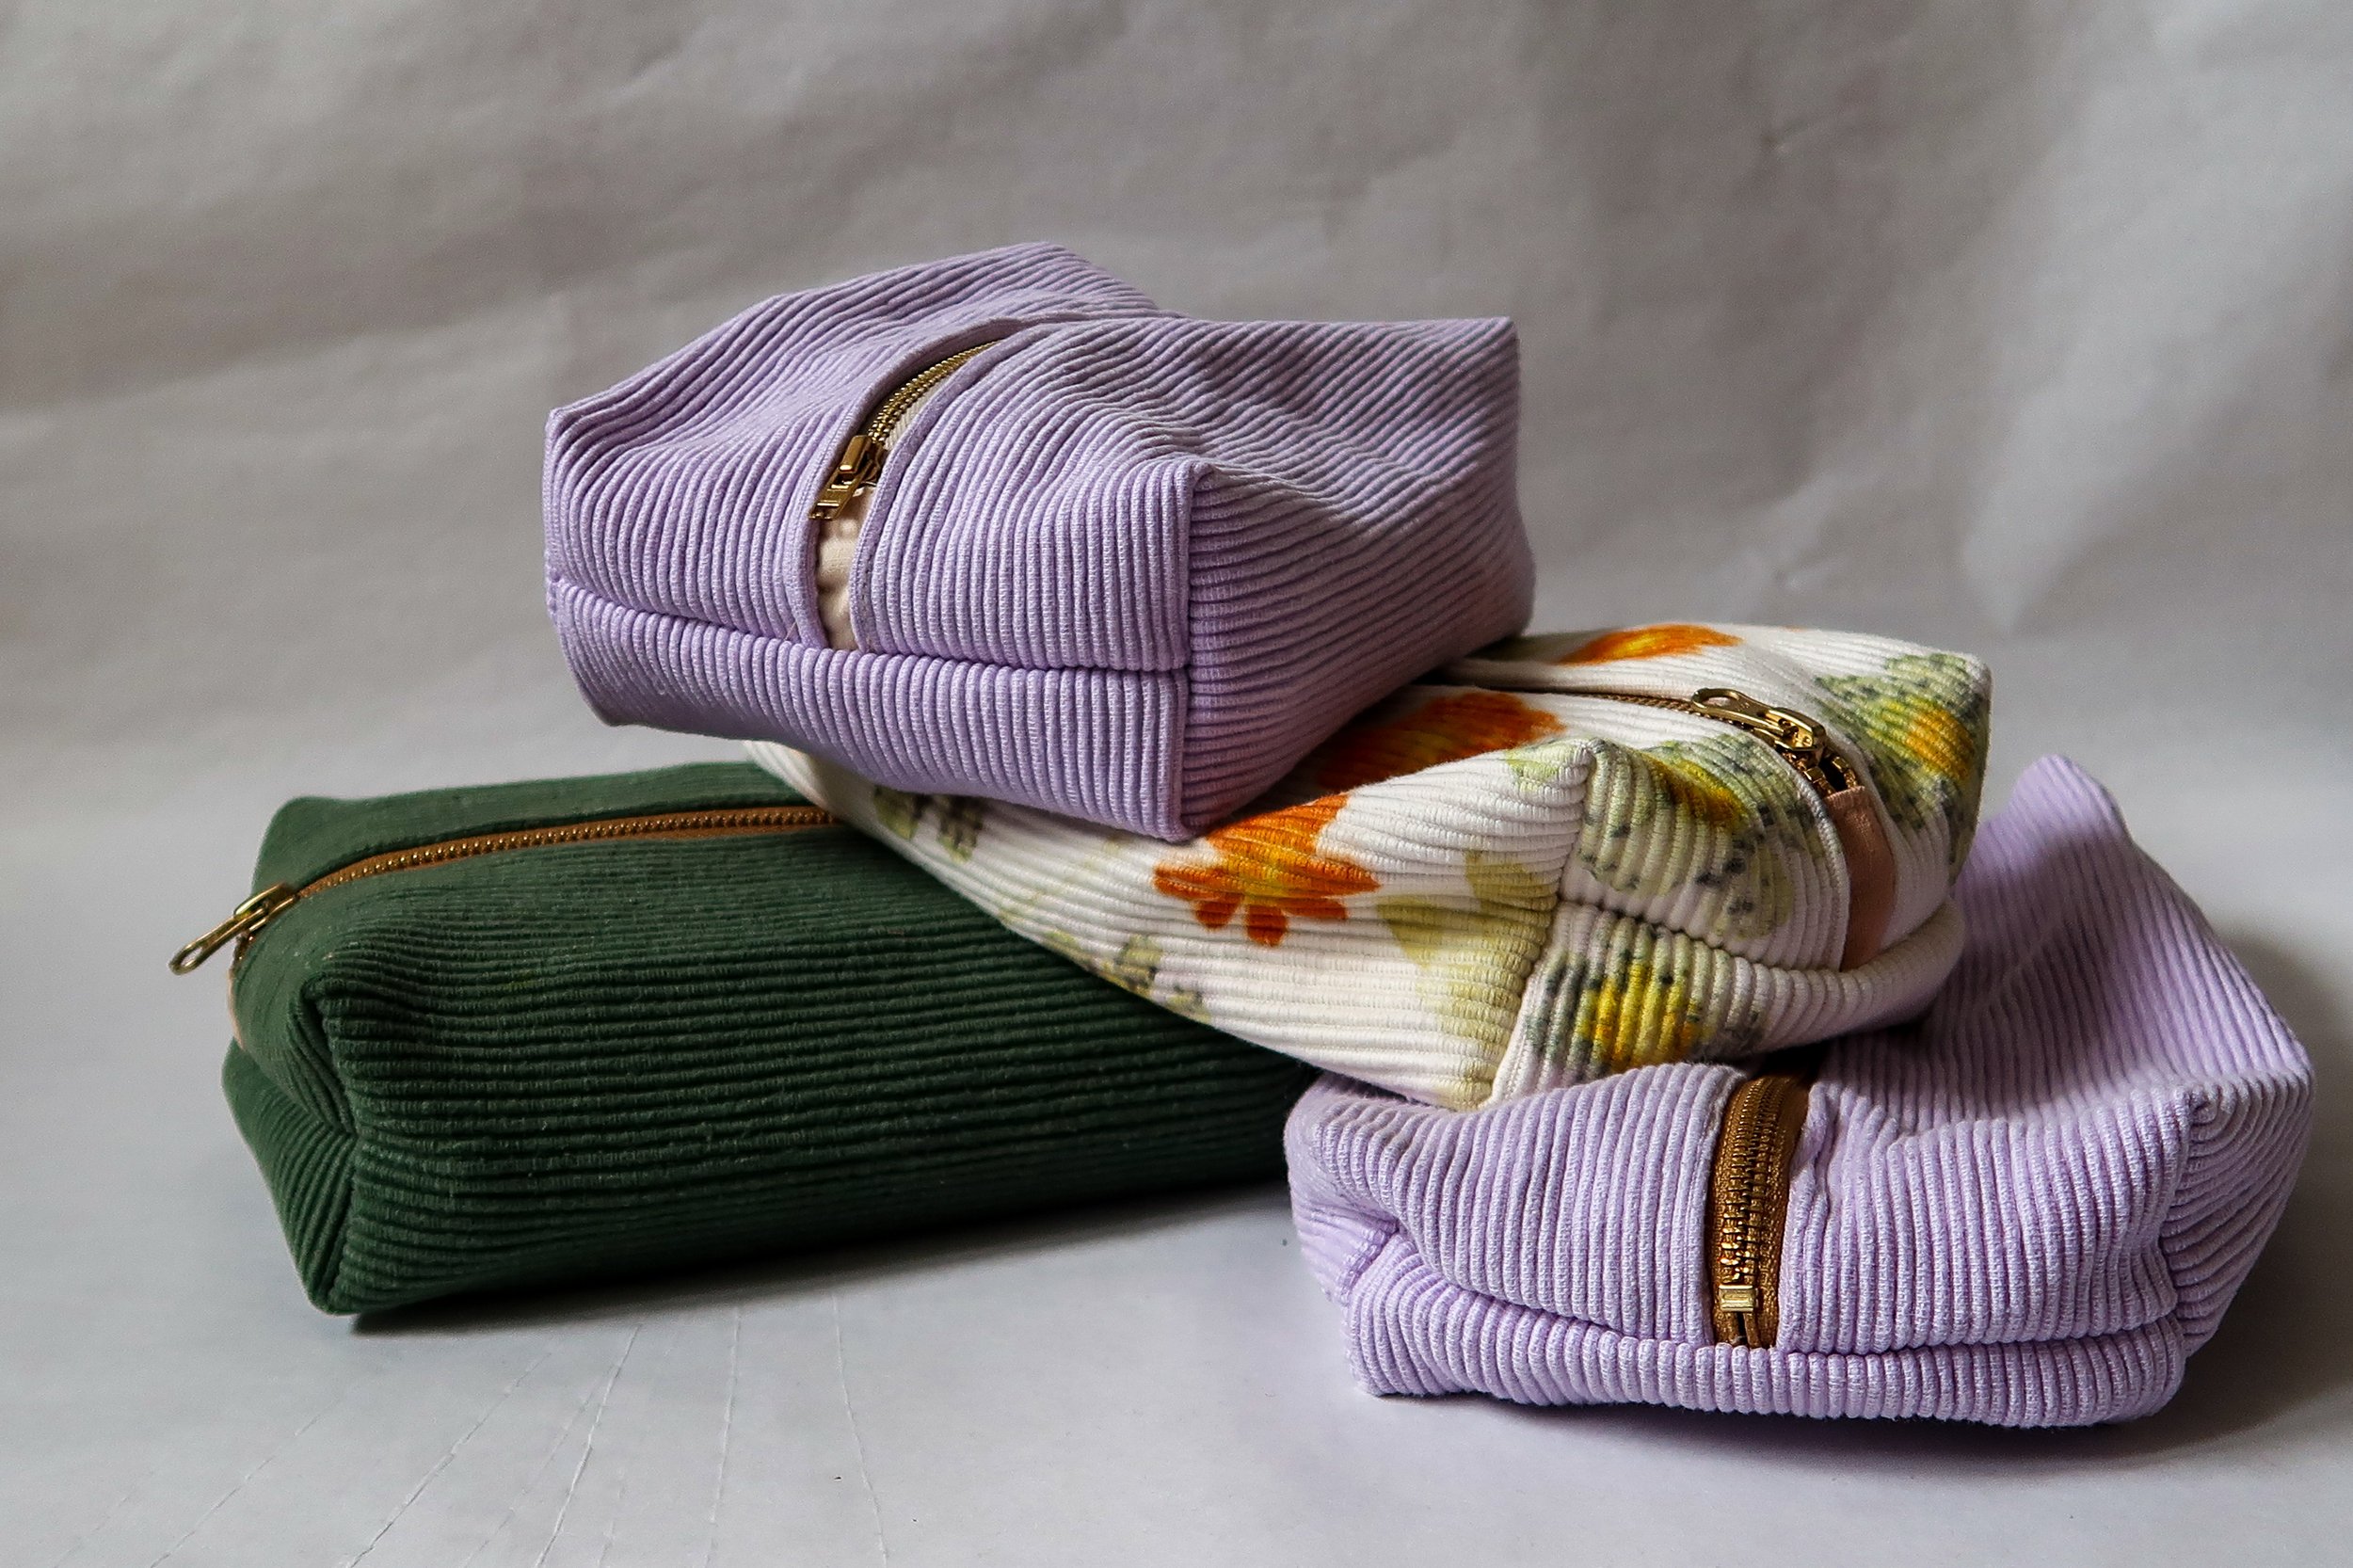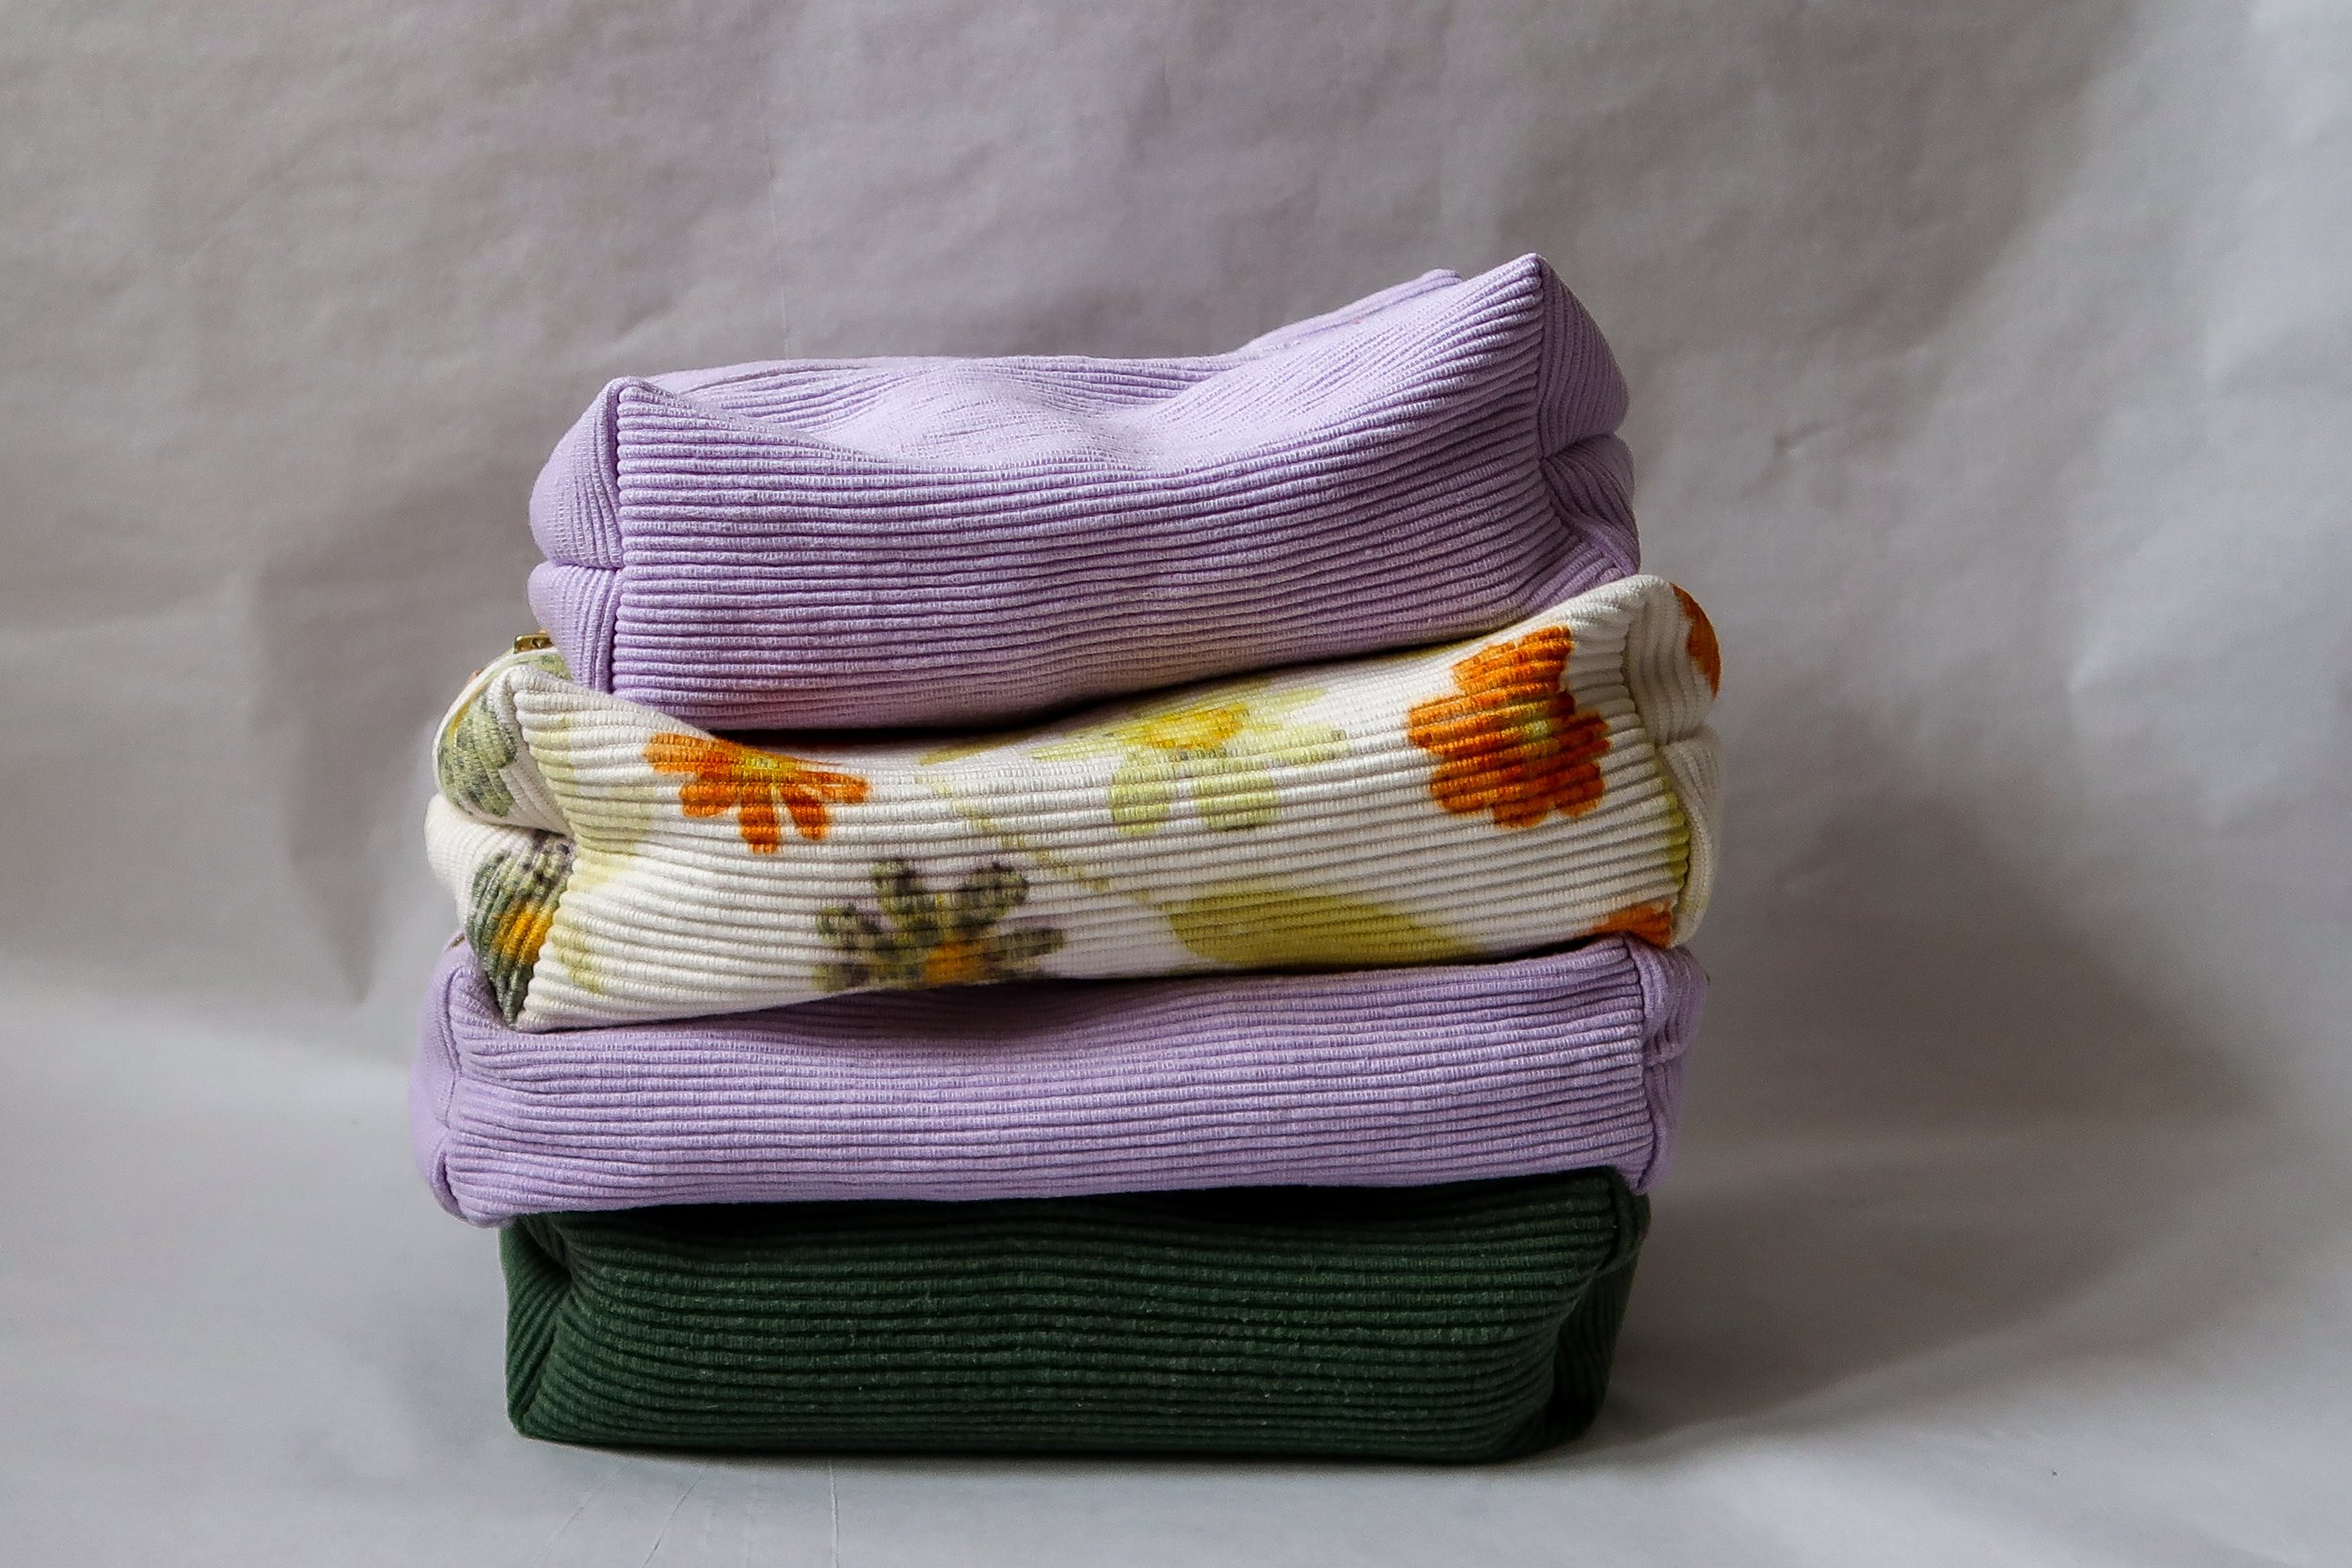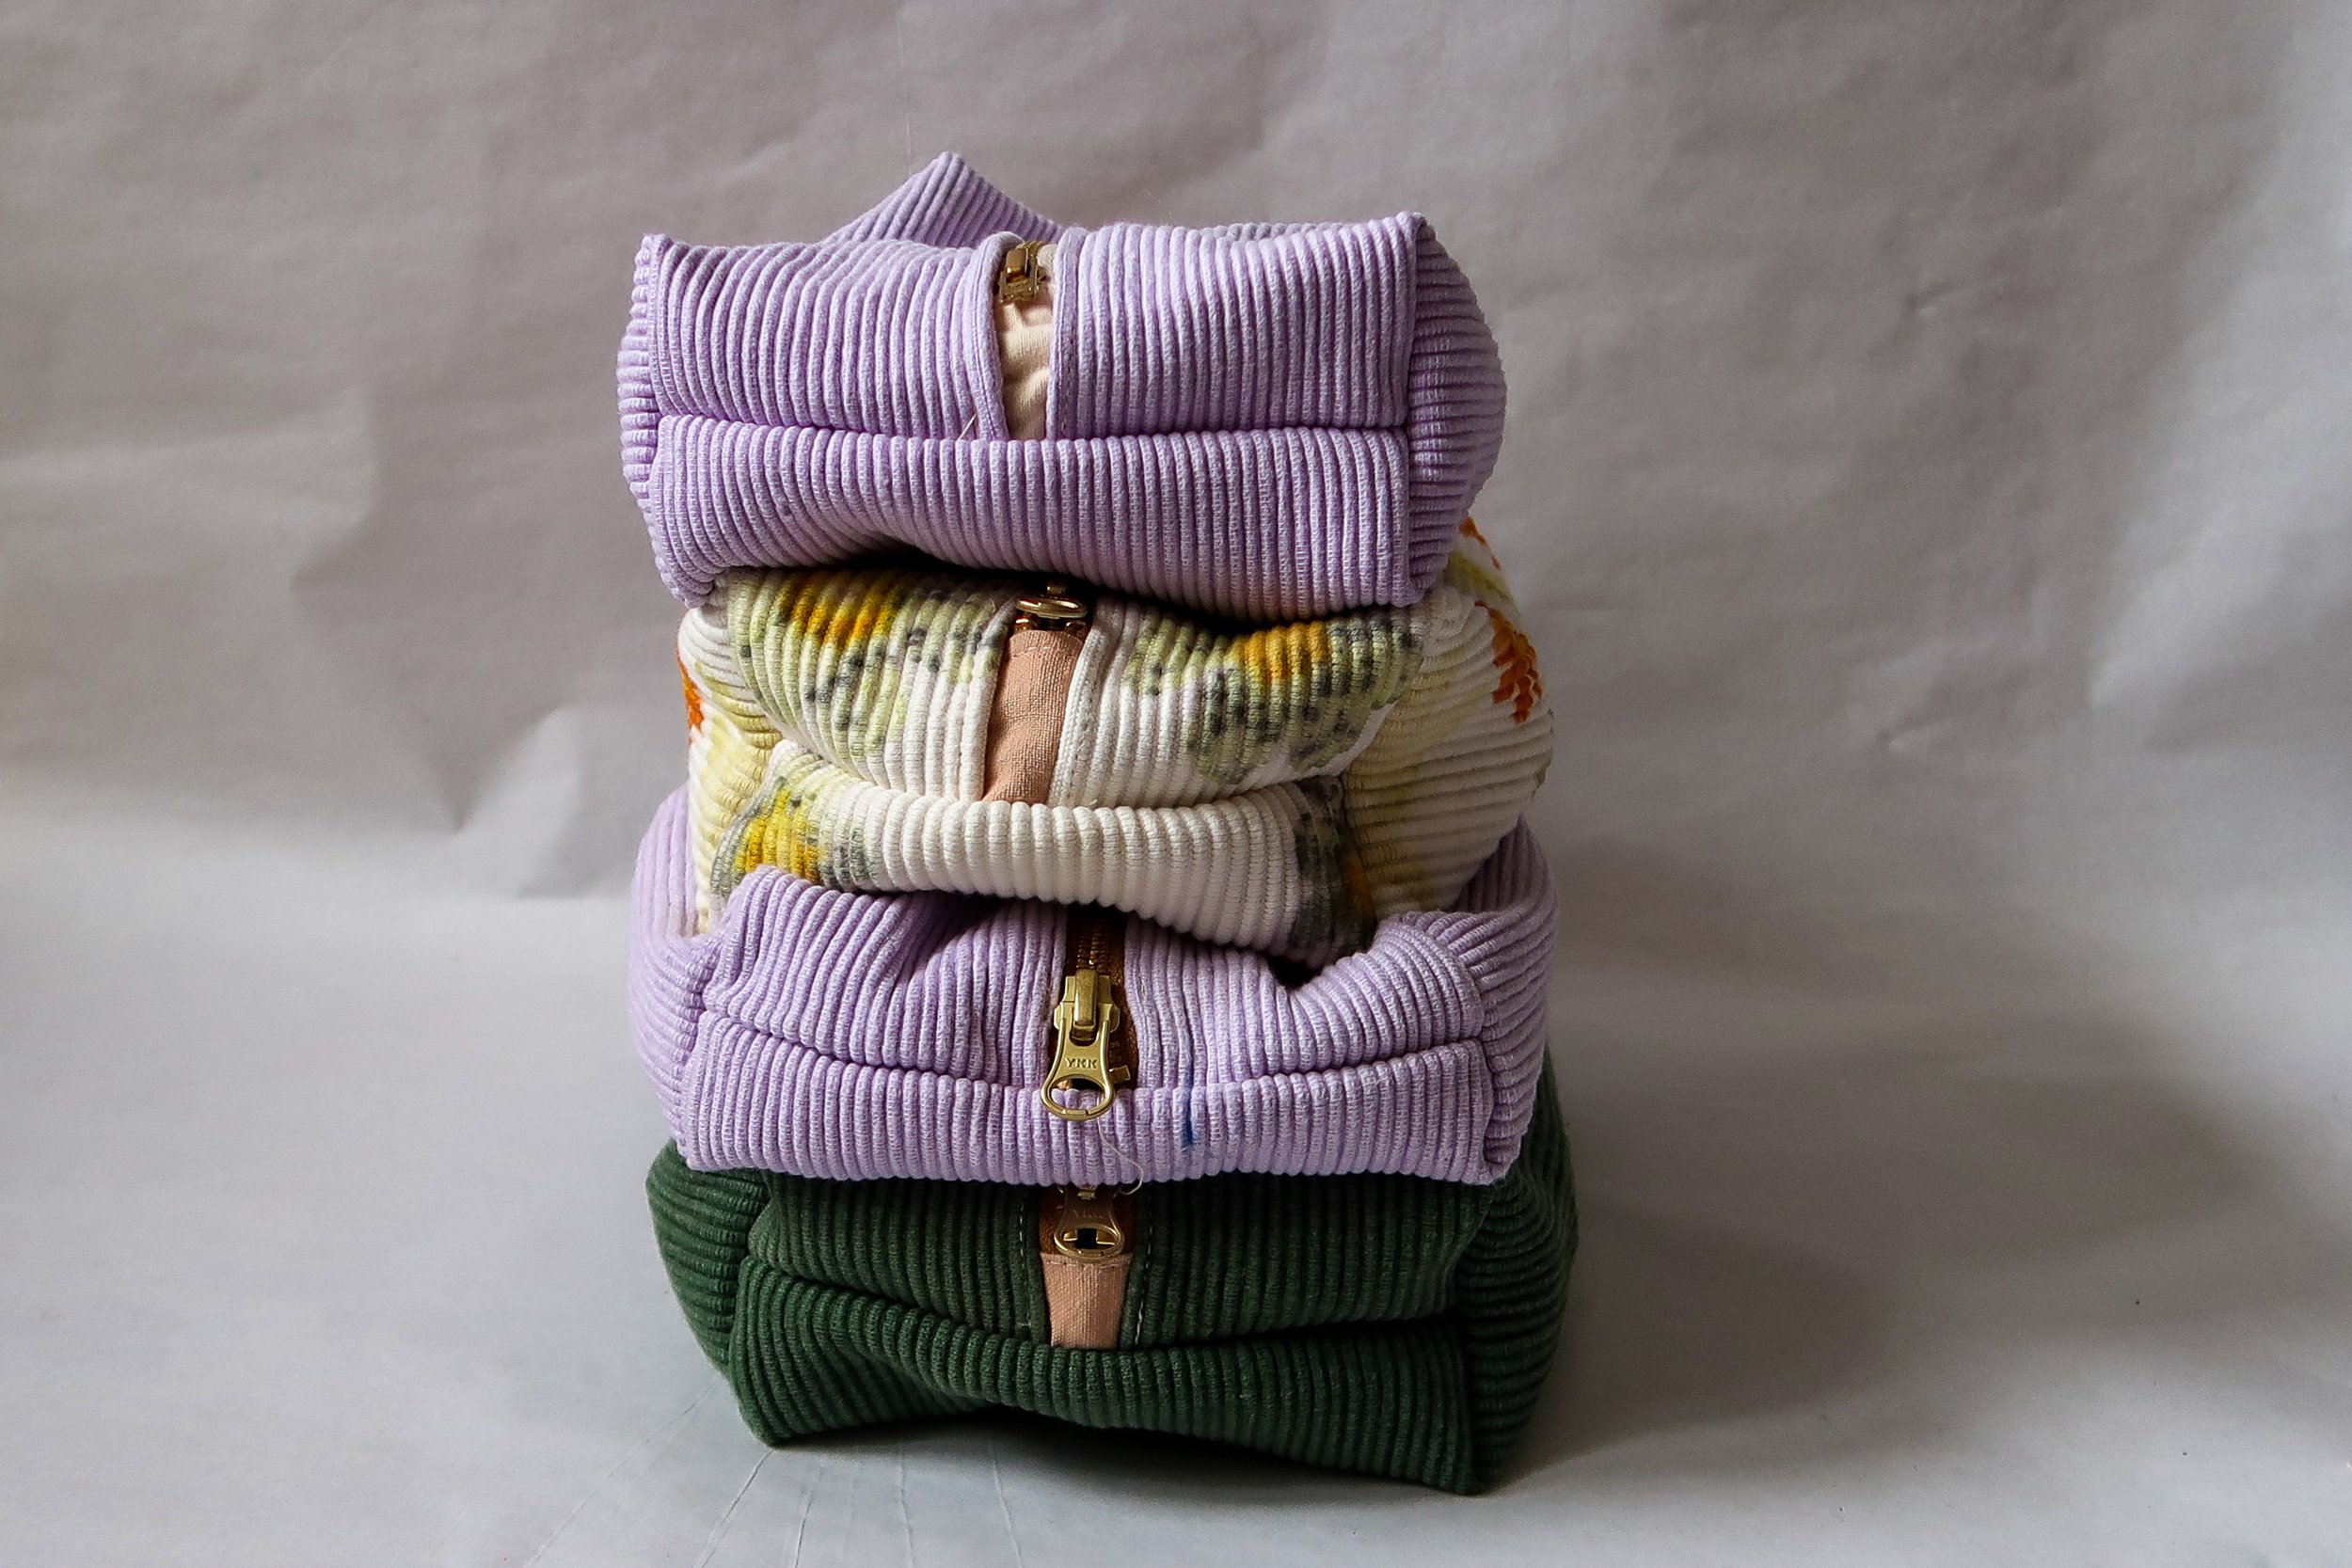
Easy-peasy place mat pouches
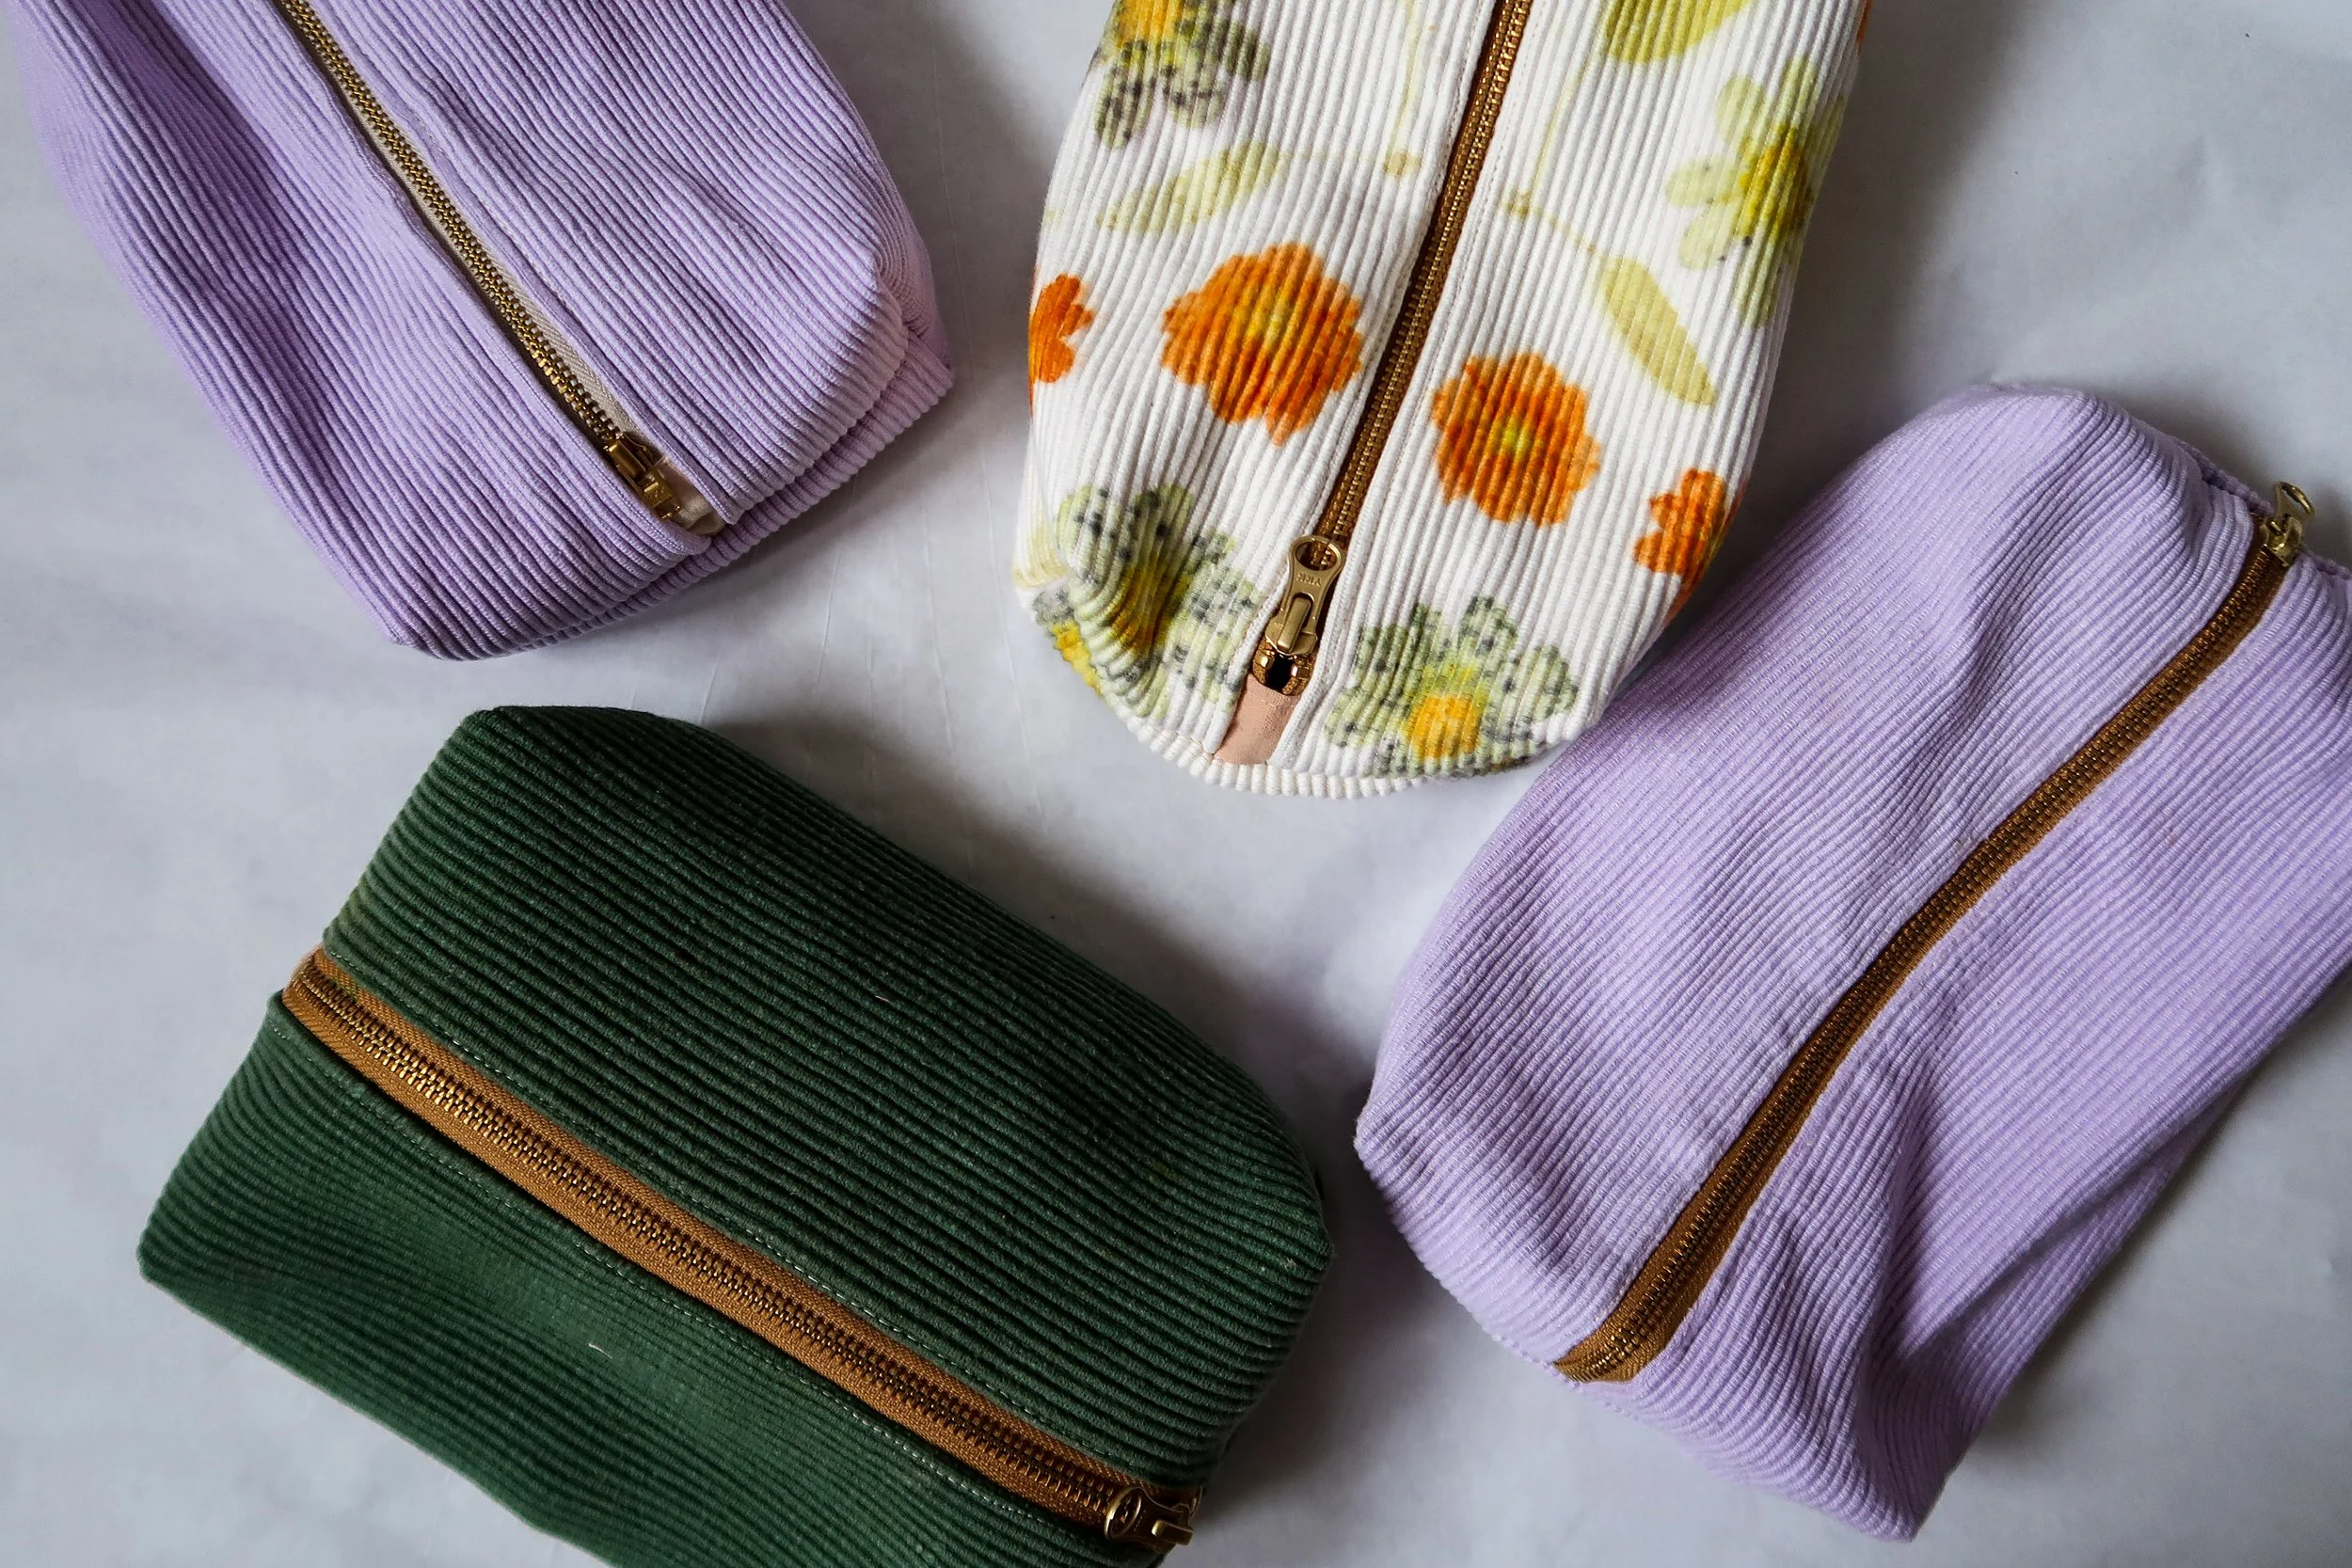
These pouches are the perfect beginner sewing project! There’s no cutting out required (unless you want a smaller size) and the fabric is super easy to work with. All you need is a place mat, a zipper and your trusty old sewing machine - 10 minutes later you’re left with a perfect boxy pouch!
What you’ll need:
a standard place mat
25cm or 30cm zipper
two small pieces of scrap fabric (2,5cmx4cm) if you are using a 25cm zipper
thread & your sewing machine

Step 1
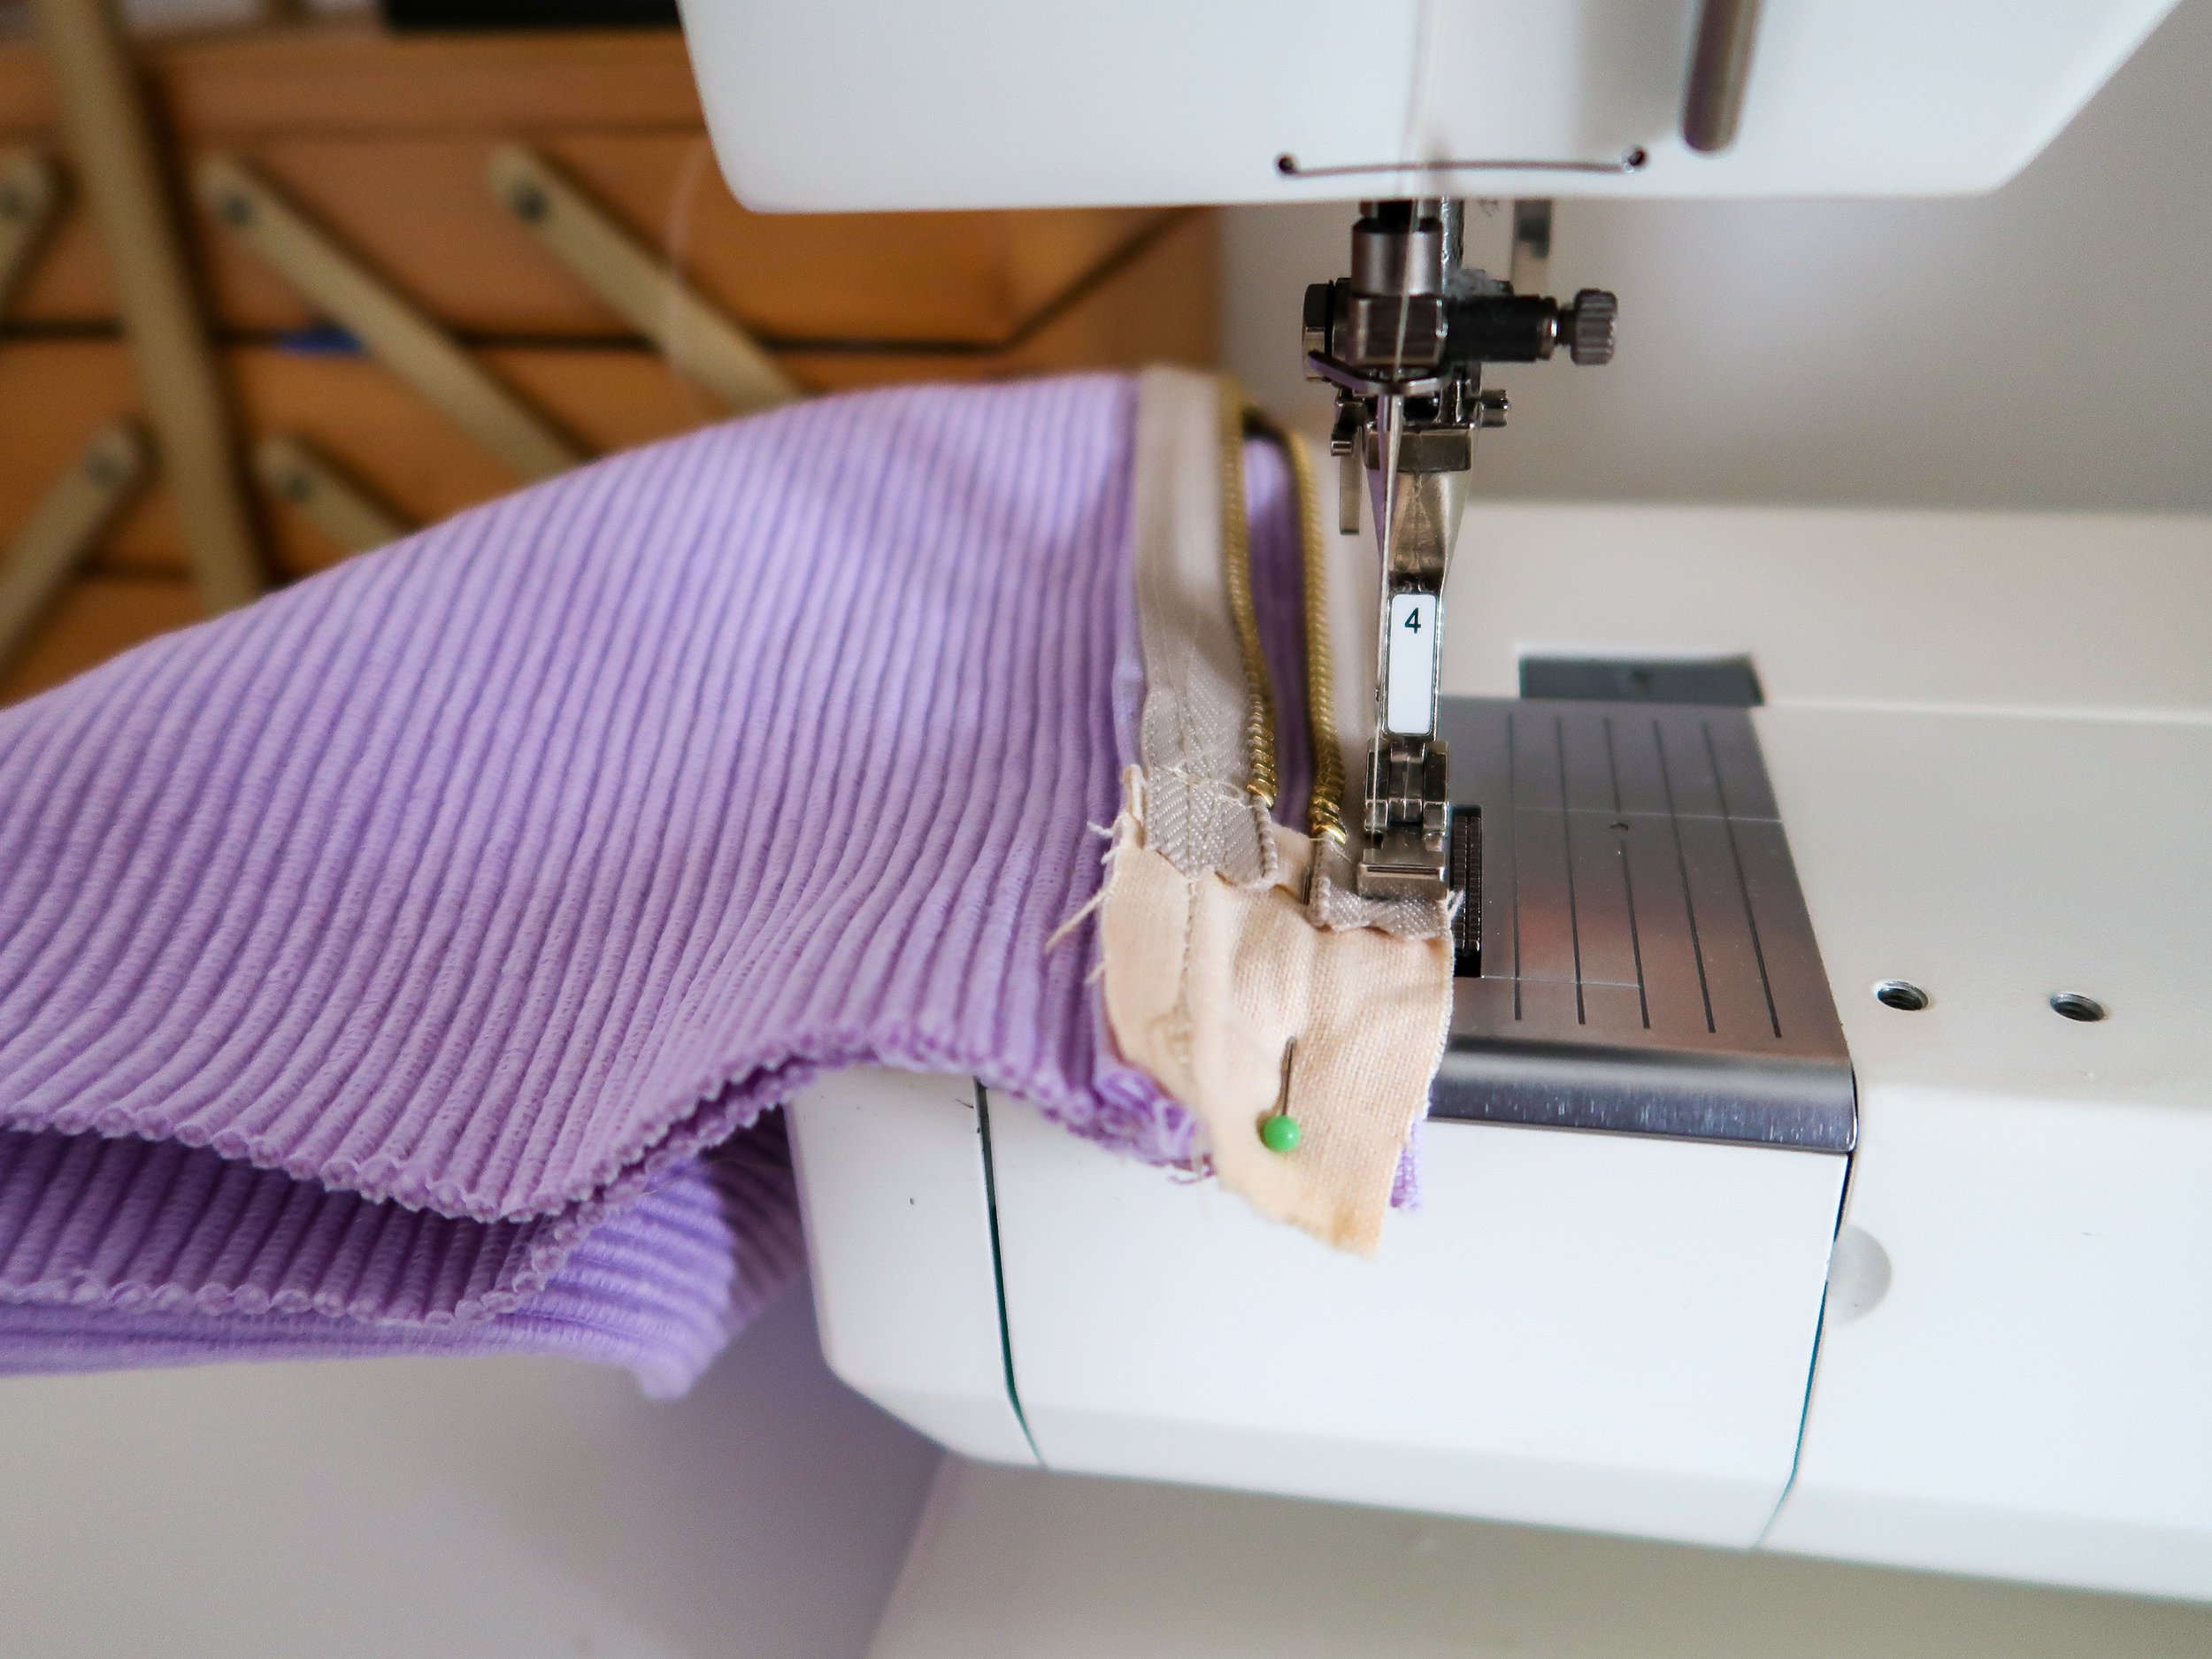
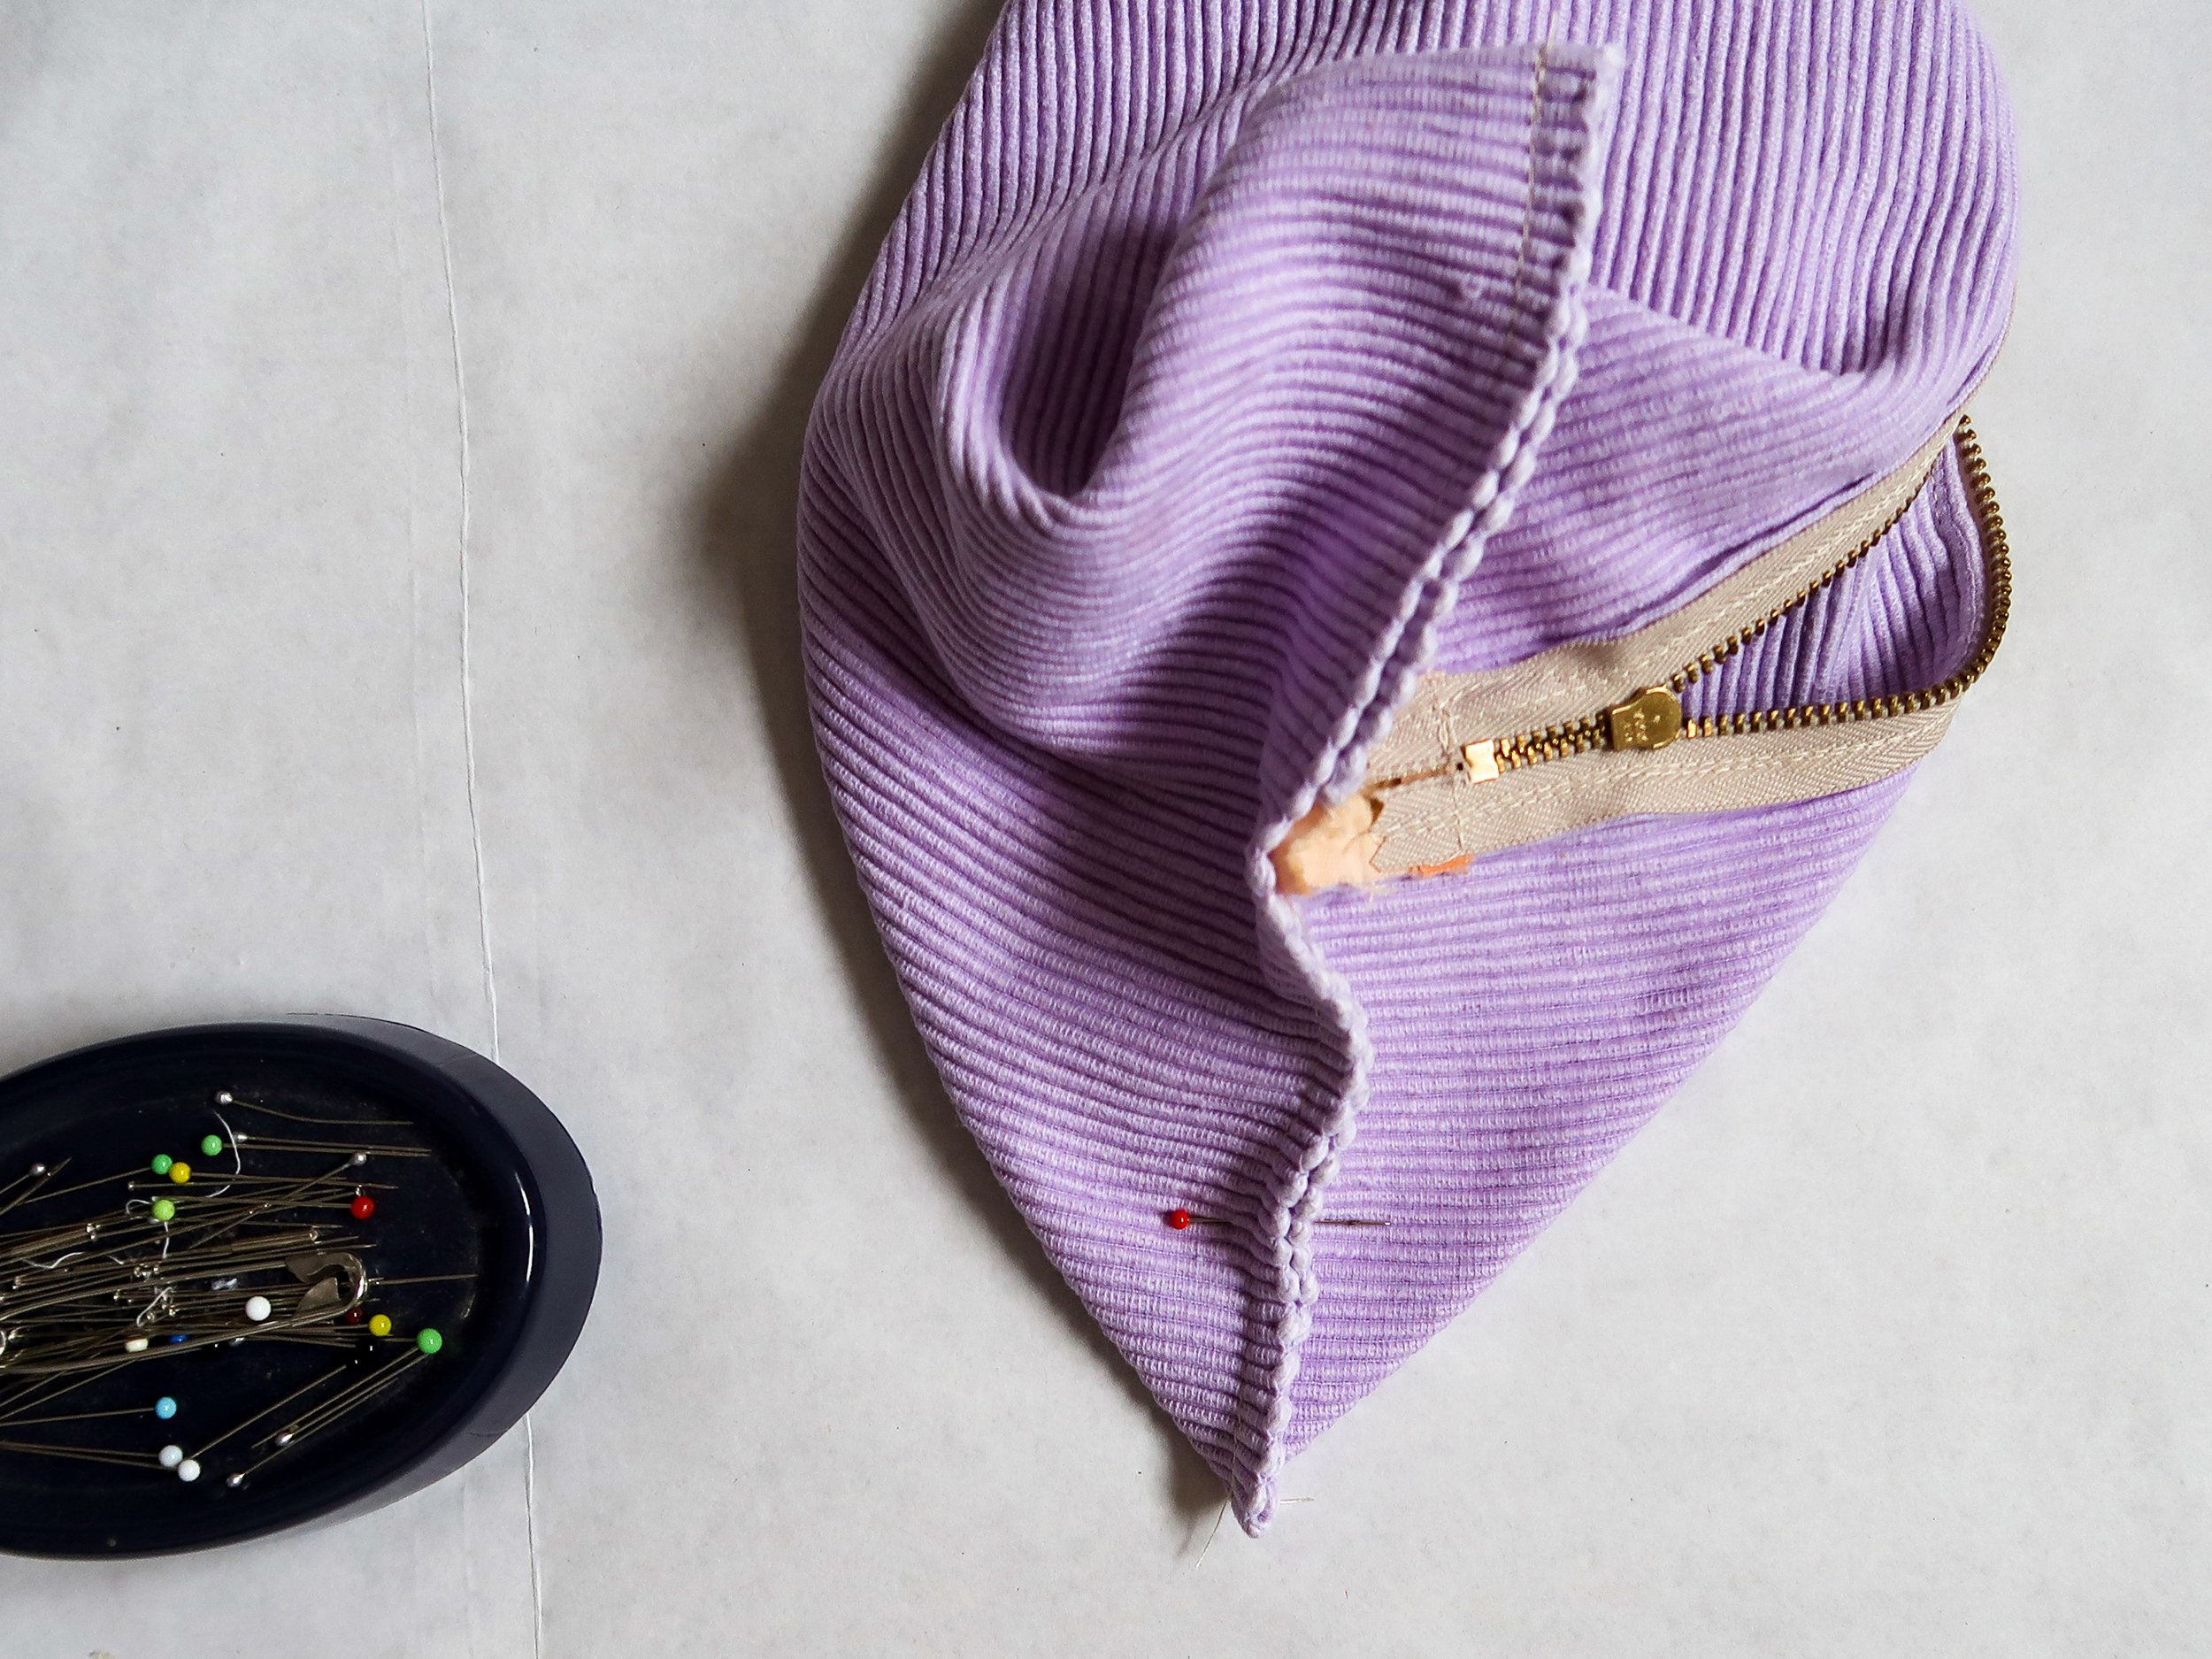
The first thing to do is to add the two pieces of scrap fabric to each end of your zipper. Simply fold over one of the shorter edges of the fabric and place it on the right side of your zipper.

Step 2.1
Next we’ll attach the zipper to the place mat. Lay your zipper on the place mat right sides facing and pin in place.

Step 2.2
Switch your sewing foot to a zipper foot and start stiching the zipper to the place mat. Make sure the edge of the zipper is aligned with the edge of the place mat. Use the width of the sewing foot as seam allowance.

Step 2.3
Top stich the zipper in place. You can skip this step but top stitching will make it much easier to use the zipper later and will also help hold the shape of the pouch.

Step 2.4
Now it’s time to fix the other side of the place mat to the zipper. Fold the zipper on top of the place mat again right sides facing and repeat steps 2.1-2.3.


Step 3
Now that the zipper is done, it’s time to sew the sides of the pouch. Align the zipper in the middle of the pouch and pin down the sides. Change your sewing foot back to the standard sewing foot and sew down each side using the width of your sewing foot as seam allowance again.
PLEASE make sure that your zipper is half open at this point, otherwise you won’t be able to turn the pouch later!
Step 4
The final step are the corners! Align the side seam you just sewed in a 90 degree angle to the length of the pouch. Gently adjust the corner until you are confident that the seam is properly positioned. Pin in place. You can also measure this step but sometimes it’s enough to just eyeball it. I sewed each corner at about 3 cm from the corner.


Step 2.2
Cut off each corner and zig zag the edge so that it doesnt fray open.

Turn the pouch right side out and press each edge / seam into shape. And that’s it! You’re place mat pouch is done! Now keep it for yourself or gift it away!